
Creating a Scene in Lumion: A Guide to Scenes, Saving, and Autosave
A scene in Lumion is the foundation for creating 3D models and generating the final image or video output.

A scene in Lumion is the foundation for creating 3D models and generating the final image or video output. It sets the stage for your project, defining the terrain, sky, weather, and other environmental factors. Lumion provides nine scene presets to get you started, but you can also create your own custom scenes from scratch.
Using the Nine Scenes
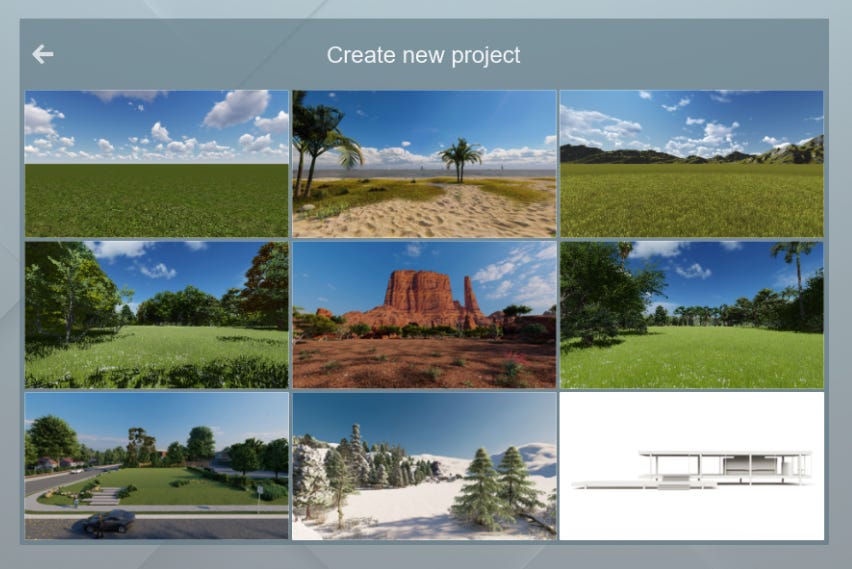
The nine scene presets are available in the New tab of the Files menu. Each scene features a different terrain type and weather condition, such as Hills, Grass, Snow, and Desert. You can choose a preset that matches your project type or simply select the one that appeals to you most.
It's important to note that the differences between scenes are primarily in terrain type and weather. There are no specific benefits to using one scene over another, so it's ultimately a matter of personal preference.
Scene Selection and Benefits
When selecting a scene, it's important to consider the type of project you're working on and your personal preferences. For example, if you're creating a rendering of a new house, you may want to choose a scene with a realistic terrain type, such as Grass or Hills. If you're creating a more artistic rendering, you may want to choose a more unique scene, such as Snow or Desert.
Over time, you may find that adjusting template scenes takes as much time as creating a scene from scratch. In this case, starting with a blank scene may be better and building it up from there.
Opening and Editing Scenes
To open a scene, simply select it from the New tab of the Files menu. Scenes work as templates, so any changes you make will not affect the original template.
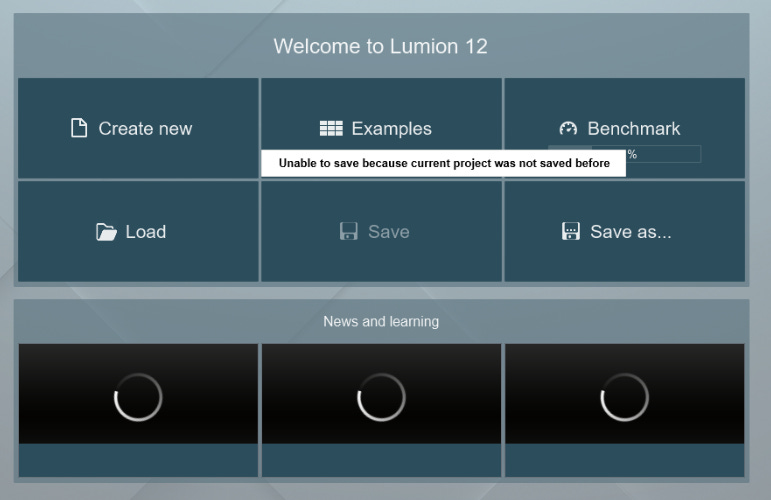
It's important to save your scenes regularly, as Lumion uses a non-linear save system. This means that Lumion creates a new version of the scene each time you save. This can be useful for tracking changes and experimenting with different ideas, but it's also important to be mindful of the number of versions you create.
Saving the Scene
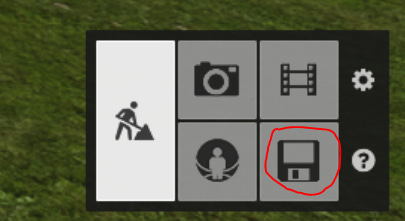
To save a scene, click the Files button and select the Save Scene tab. You can then choose to save the scene as a new version or overwrite the existing scene.
Lumion uses a versioning system to keep track of saved scenes. Each time you save, Lumion creates a new version of the scene with a unique name. You can view all of the saved versions of a scene by clicking the Versions button in the Save Scene tab.
Save System and Best Practices
It's a good practice to save multiple versions of your scenes, especially if you're working on a complex project. This way, you can always return to a previous version if you make a mistake or decide to change something.
When saving a new version of a scene, it's helpful to add a brief description. This will help you track your changes and identify the version you want to work on.
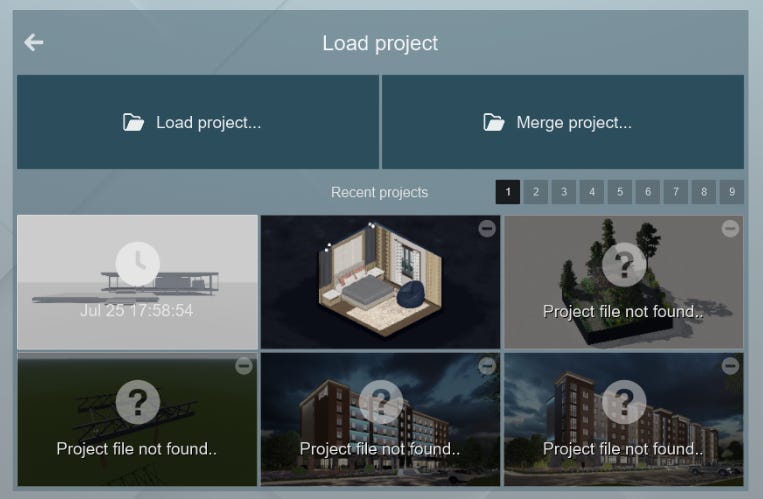
You can hover over a saved scene to view its date and time information. This can help track your progress and identify older versions of scenes that you may no longer need.
Autosave Feature
Lumion also has an autosave feature that acts as a safety net. There are two types of autosave files:
AutoSaveOnQuit: This file is created when you exit Lumion without saving your scene. If you accidentally close Lumion or lose power, you can reopen the AutoSaveOnQuit file to recover your work.
Autosave: This file is created at regular intervals while you're working on a scene. If your computer crashes or Lumion freezes, you can reopen the Autosave file to recover your work.
The autosave feature can help to prevent accidental loss of work, but it's not a substitute for regular manual saves. It's important to save your work frequently, especially before you start making major changes to a scene.
Scenes are the starting point for all 3D projects in Lumion. By understanding how to select, open, edit, and save scenes, you can streamline your workflow and create more realistic and engaging renderings.
Embark on your architectural journey today by downloading our FREE Architectural Basic Design Package with Lumion file! Experience the power of rendering and explore the endless possibilities of architectural design. To get started, simply click the link below and access the file on our website:
👉 https://portfolio.hotrongnhan.org/home
Don’t miss out on this incredible opportunity to elevate your skills and bring your designs to life. Download now and unlock the gateway to architectural excellence!
In the next section, we'll discuss the concept of using a proxy before sculpting the terrain in Lumion. A proxy is a simplified version of your 3D model that can be used to improve performance during terrain sculpting. We'll explain how to create a proxy and how to use it to sculpt your terrain more efficiently.